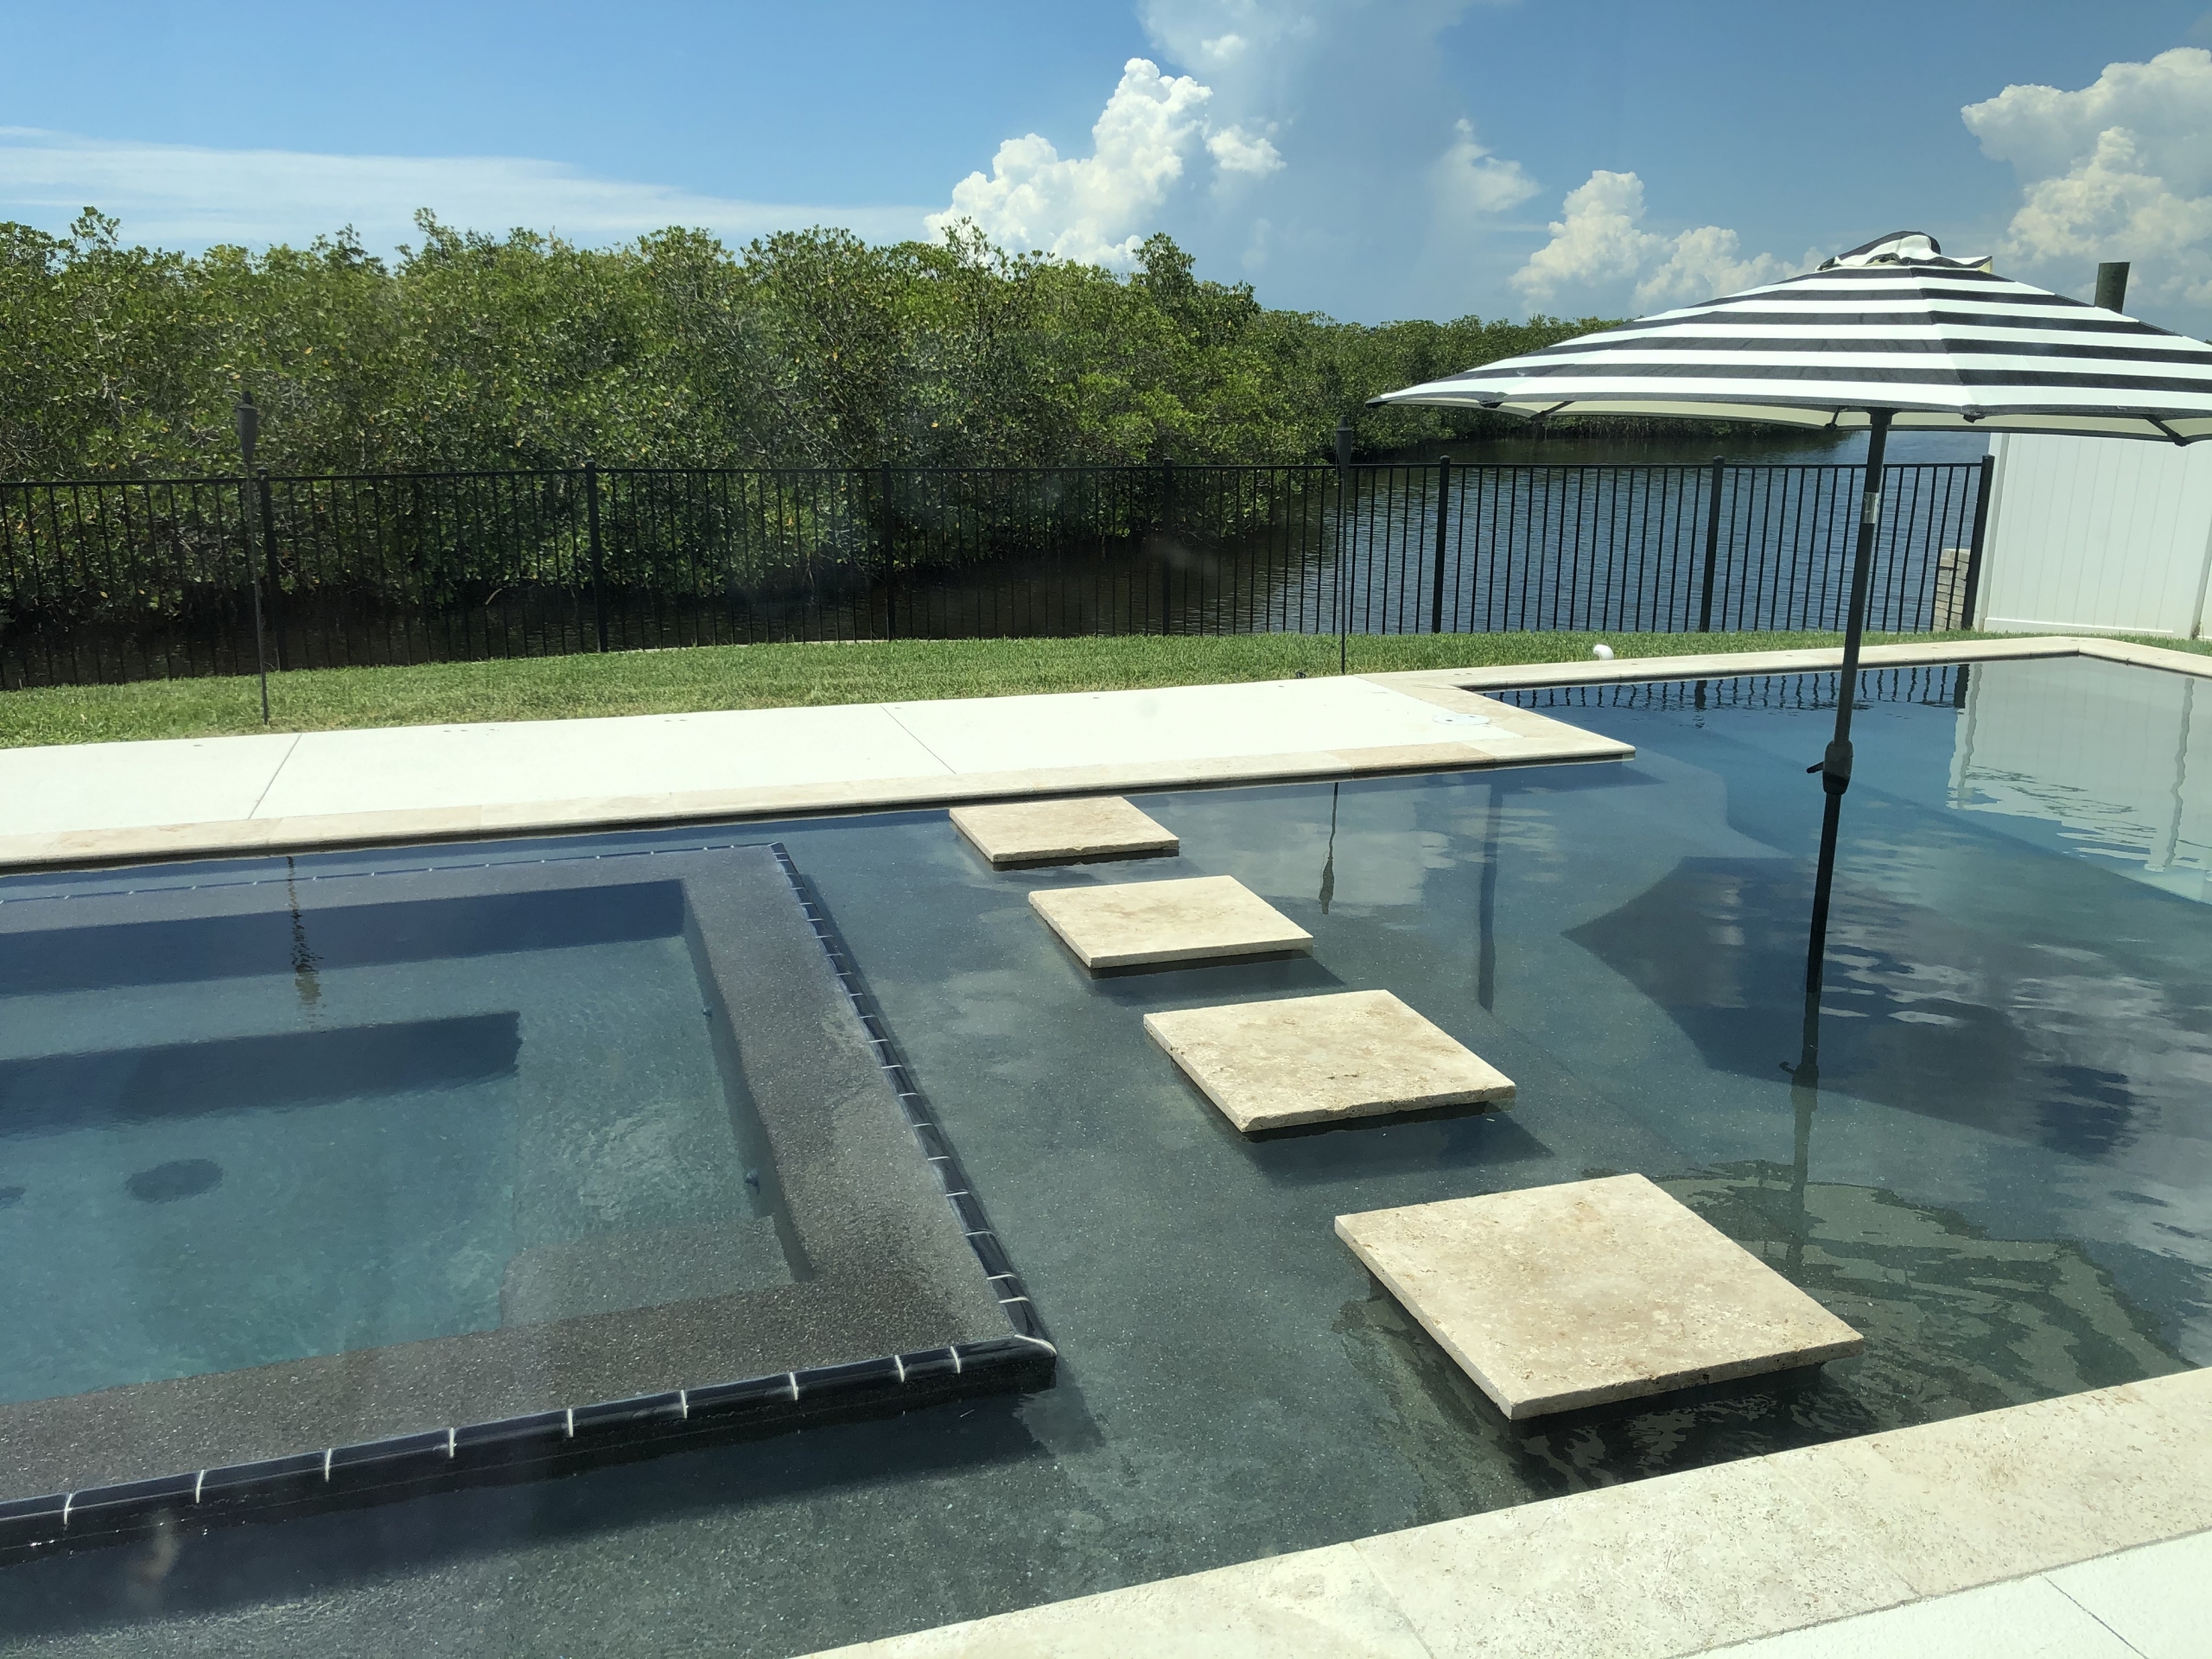
Building a swimming pool: Dig a hole, Fill it with concrete, and Swim for days. If only building a swimming pool were that simple. Pool construction has come a long way in the past few years. From basic run of the mill pools, to state of the art complete pool automation, your dream pool runs somewhere in between. When building your pool it is important to be educated on the construction process. Below you will find a step by step guide to help you when making informed decisions about your pool.
building a swimming pool step
1. Layout, Dig, and Steel
This is the first step in the actual construction process, where your dreams start to take fruition. The yard is scalped and hauled off, strings are put up to get the deck/pool layout, and stakes are pounded into the ground around the perimeter of the pool. Then we will excavate the pool, adding rock as needed on the ground and around the main drain of the pool. Any plumbing that is needed under the pool or in the beam will be added at this time. Once everything is excavated the rebar is bent by hand and placed in a grid pattern. After this is all finished, inspections will be called in and it’s on to the next step!
2. Gunite
Gunite is the second phase of construction. Gunite is just a technical name for pneumatically (high pressure air) applied concrete. Specifically, gunite is sub section of a process called shotcrete. The main difference between shotcrete and gunite is just where water is introduced. Water is introduced in gunite at the very end of the hose, creating a low water to cement ratio which equates to a stronger product. This process gives you the rough shell of the pool. All the steps and features in the pool should be visible, just not smooth. This process can take anywhere from 4 hours to multiple days depending on the size of the project. Your standard pool will only take a few hours.
3. Strip and Grade
Once the pool is shot, the grade crew will come and strip the forms and grade the deck. This will give you an idea of how big your deck will be and will really start to give you an idea of how your finished product will look. This process only takes a few hours.
4. Plumbing
The rough plumb of the pool is the next phase of the construction process. In layman’s terms, we are just connecting the pipes that are stubbed up out of the shell and running to the future pool equipment location. Any feature such as deck jets and other water feature pipes will be added at this time. This process usually takes all day. Once finished they will backfill their trenches and pressure the pipes for inspection. On to the next phase!
5. Concrete Footers or Deck
Once the plumbing is in, the concrete crew will show up to dig the footings for the deck, whether it is paver or concrete. The footing size is typically 12″x12″ with rebar placed in the bottom. Inspections will be called in and concrete will be ordered. After inspections have passed, usually a day for inspections, we will pour concrete and trowel finish. The equipment pad will also be poured at this time. Forms will be stripped and then it’s on the the next step.
6. Brick and Tile
Depending on the project and availability, this process can be done before footings. Coping has to be placed on before a concrete deck, but not before footings for pavers. Coping and tile will be placed and grouted. Usually this process can be done in a day or two.
7. Concrete Pavers
Omit this step if you did a concrete deck. Concrete pavers will be put on next. A sand base will be laid down and compacted, and pavers will be placed and cut if needed. Your pool at this point is really starting to take shape!
8. Screen Enclosure
If you opted for a screen, this is the time that one will be put on. This is a whole other permitted item by a separate company that we provide. Installation usually takes from one to two days.
9. Pool Equipment Set
While this item is number nine on the list, it realistically can be set anytime after the concrete equipment pad is poured. All of the pipe stubs are connected to the pool pump and other equipment. This process only takes a few hours as well.
10. Electrical Hook Up
Electric will be hooked up once the equipment set is installed. All of the wiring from the pumps and equipment will be hooked up and connected to the main power source.
11. Pool Safety features
This is where any window alarms and baby barrier fences will be installed.
12. Plaster
Your pool will be cleaned and prepped for plaster and plaster will be applied. The plaster process is usually a one to two day process, not including the prep. After the pool is plastered you can fill it with water!
Once this is all said and done, there are still some final inspections to button up, as well as job site clean up.
We live in a not so perfect world, with rain delays and schedule mishaps, so keep in mind this is a rough overview of the swimming pool construction process. Being a more informed buyer makes for a better construction experience. Always hire a licensed contractor to do your work, and don’t be afraid to ask around and see what kind of reputation the company has. Most of all enjoy your new pool!
Looking to build a pool in Manatee/Sarasota? Contact us today!


Comments